How I Made It - Entre Montagne et Belle ÉTOILE
In this second article from my series “How I made it”, I want to share with you how I created a double exposure photography, in other words, how I combined two photos together.
Today, I am going to tell you how I imagined this black and white photo that I titled “Entre Montagne et Belle Étoile”.

Entre Montagne et Belle Étoile
There are several ways to create a double exposure. Some cameras offer this function in their settings; otherwise it can easily be done with Photoshop. My initial idea was to add an image to the dancer below to give depth to my final photo and create an unreal effect.
I like this original color photo, I even used it in my Saisons series, but I wanted something more artistic and enigmatic. So I started by converting it to black and white to accentuate the contrast.
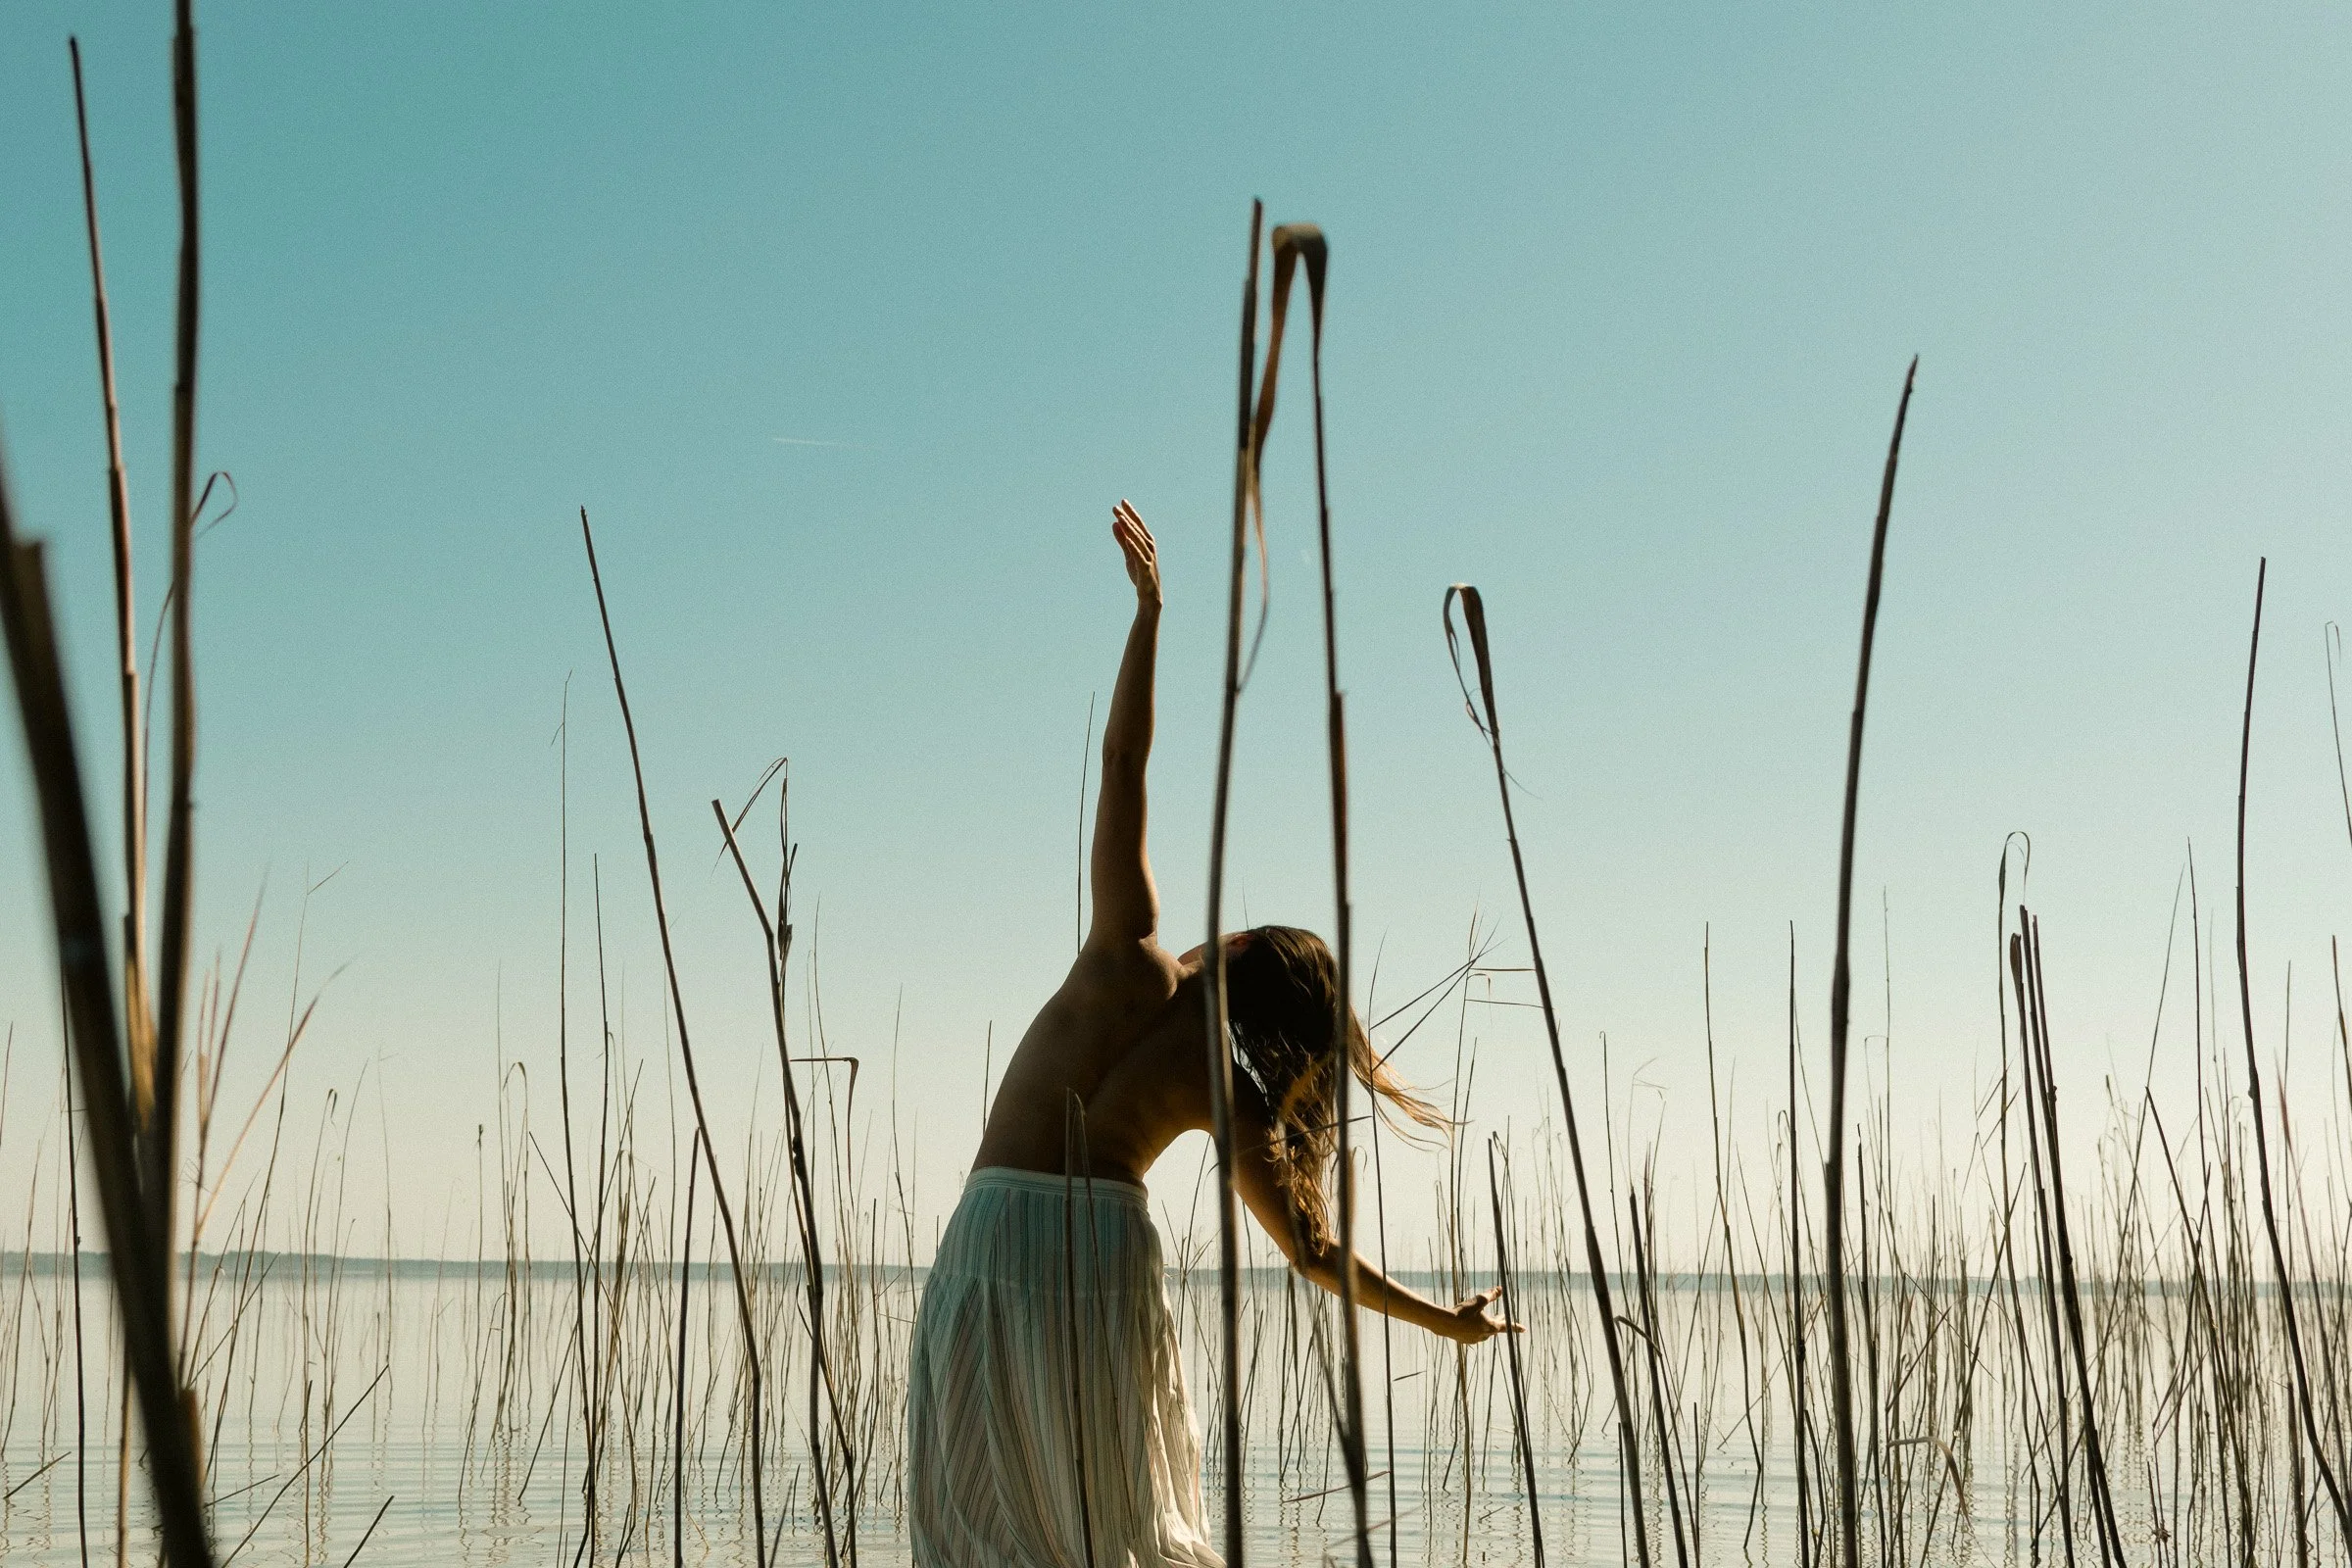
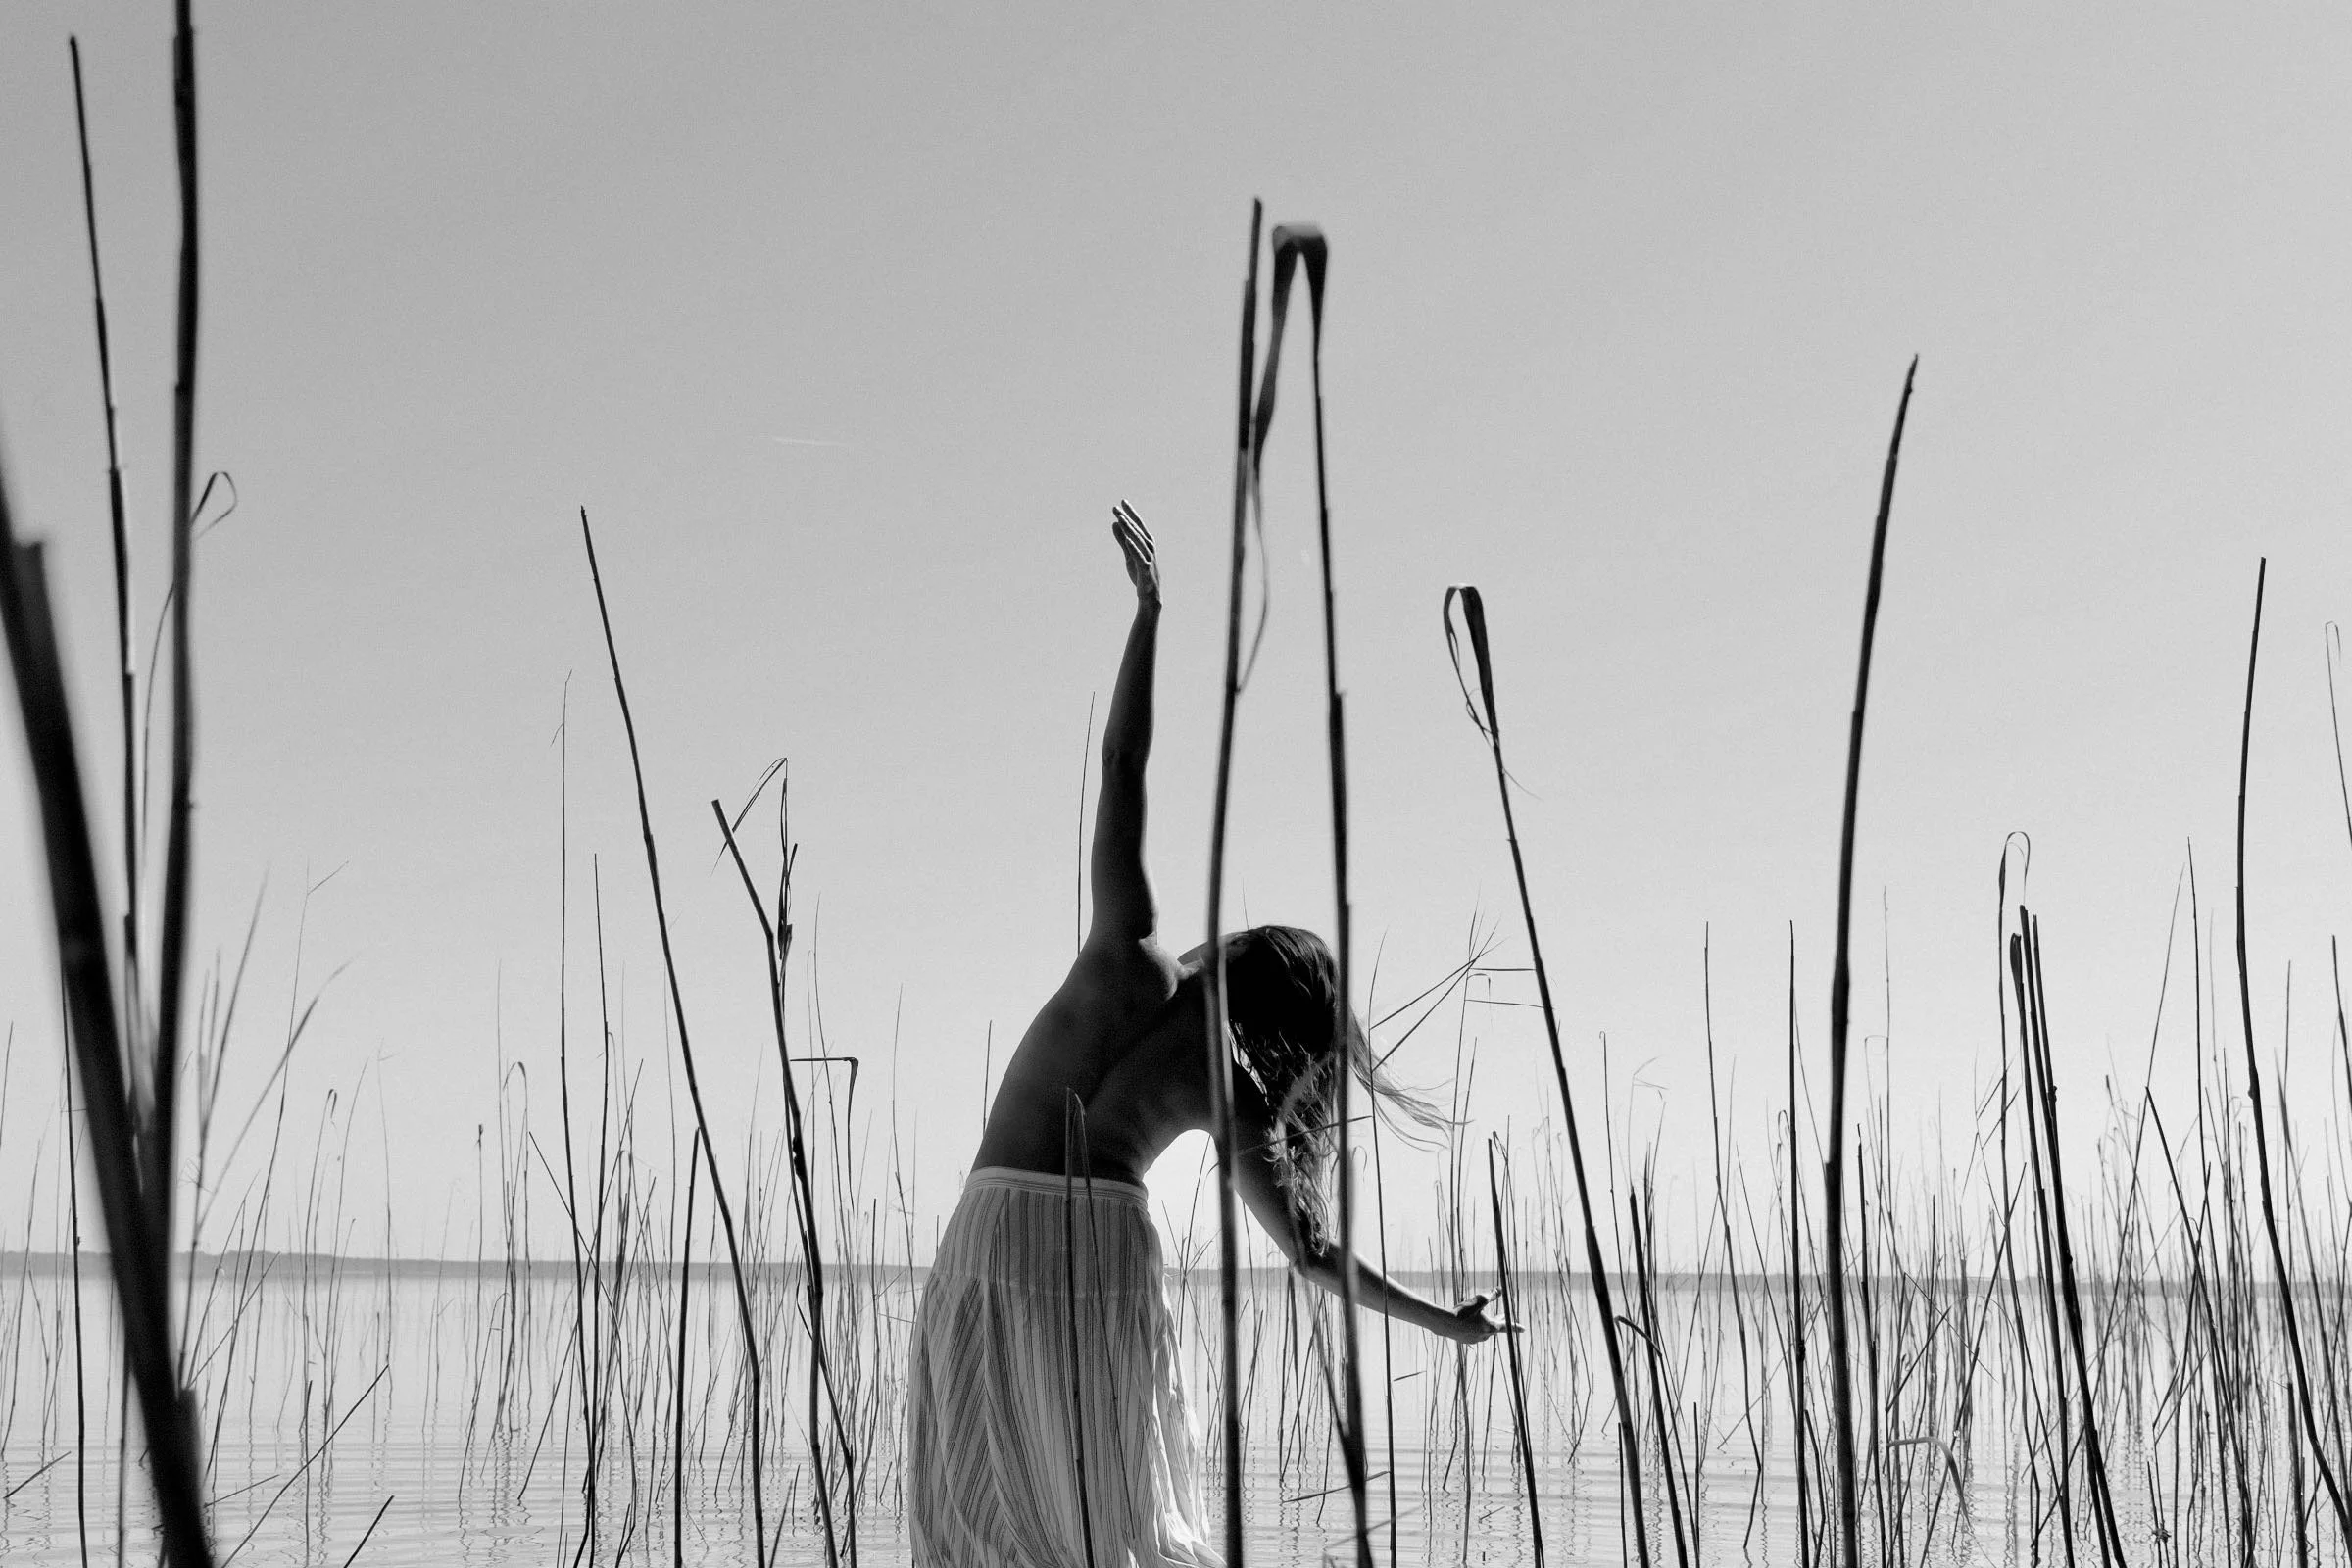
I didn’t know exactly what I was looking for. I knew I wanted to fill that grey sky and keep the reeds in the foreground. So I had to make several (many!) attempts before finding the right one.
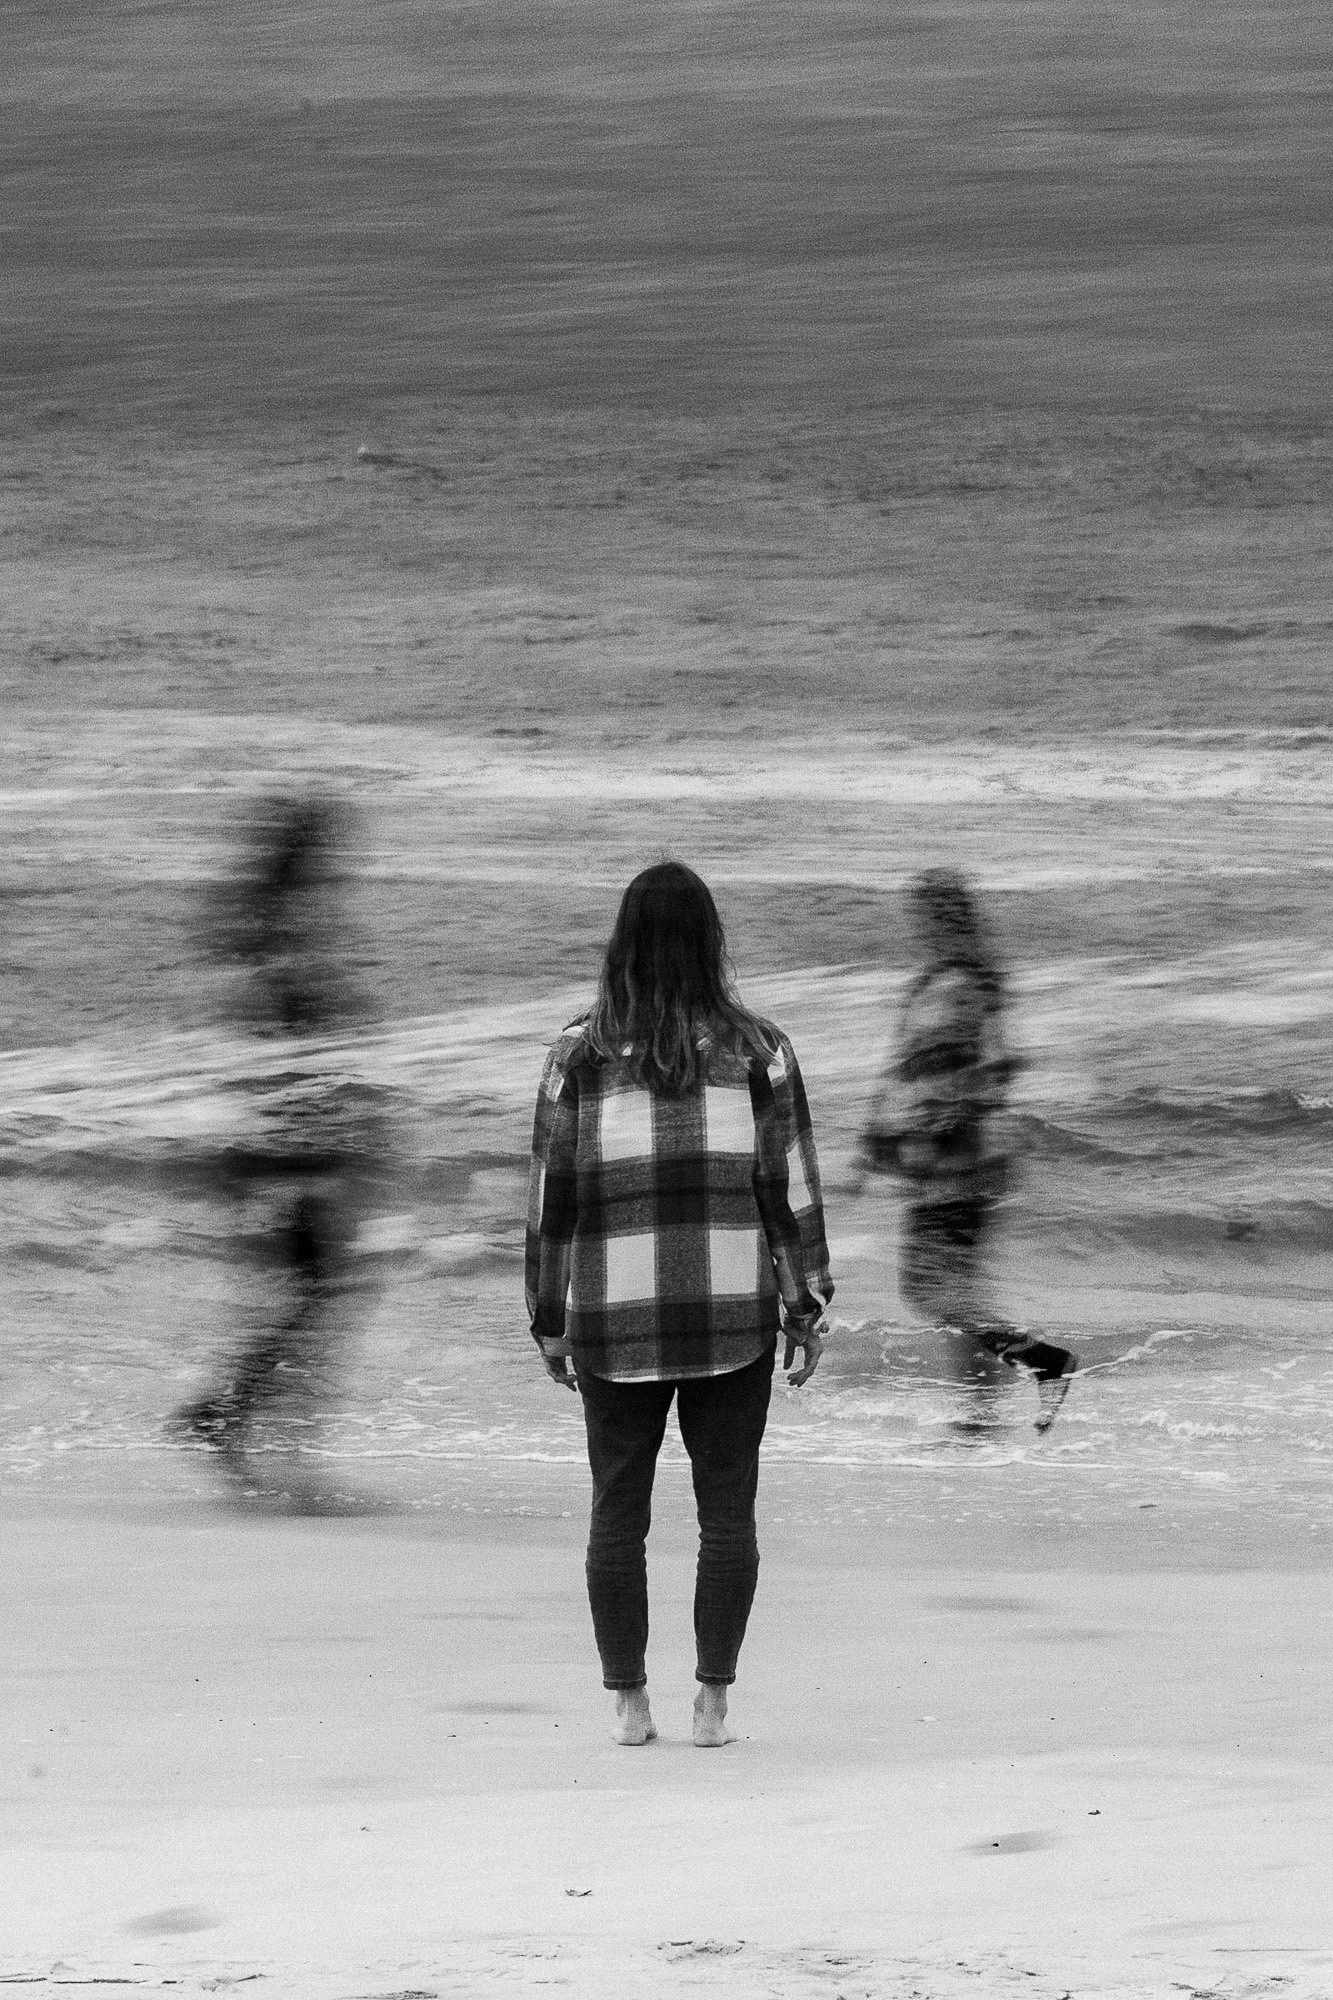
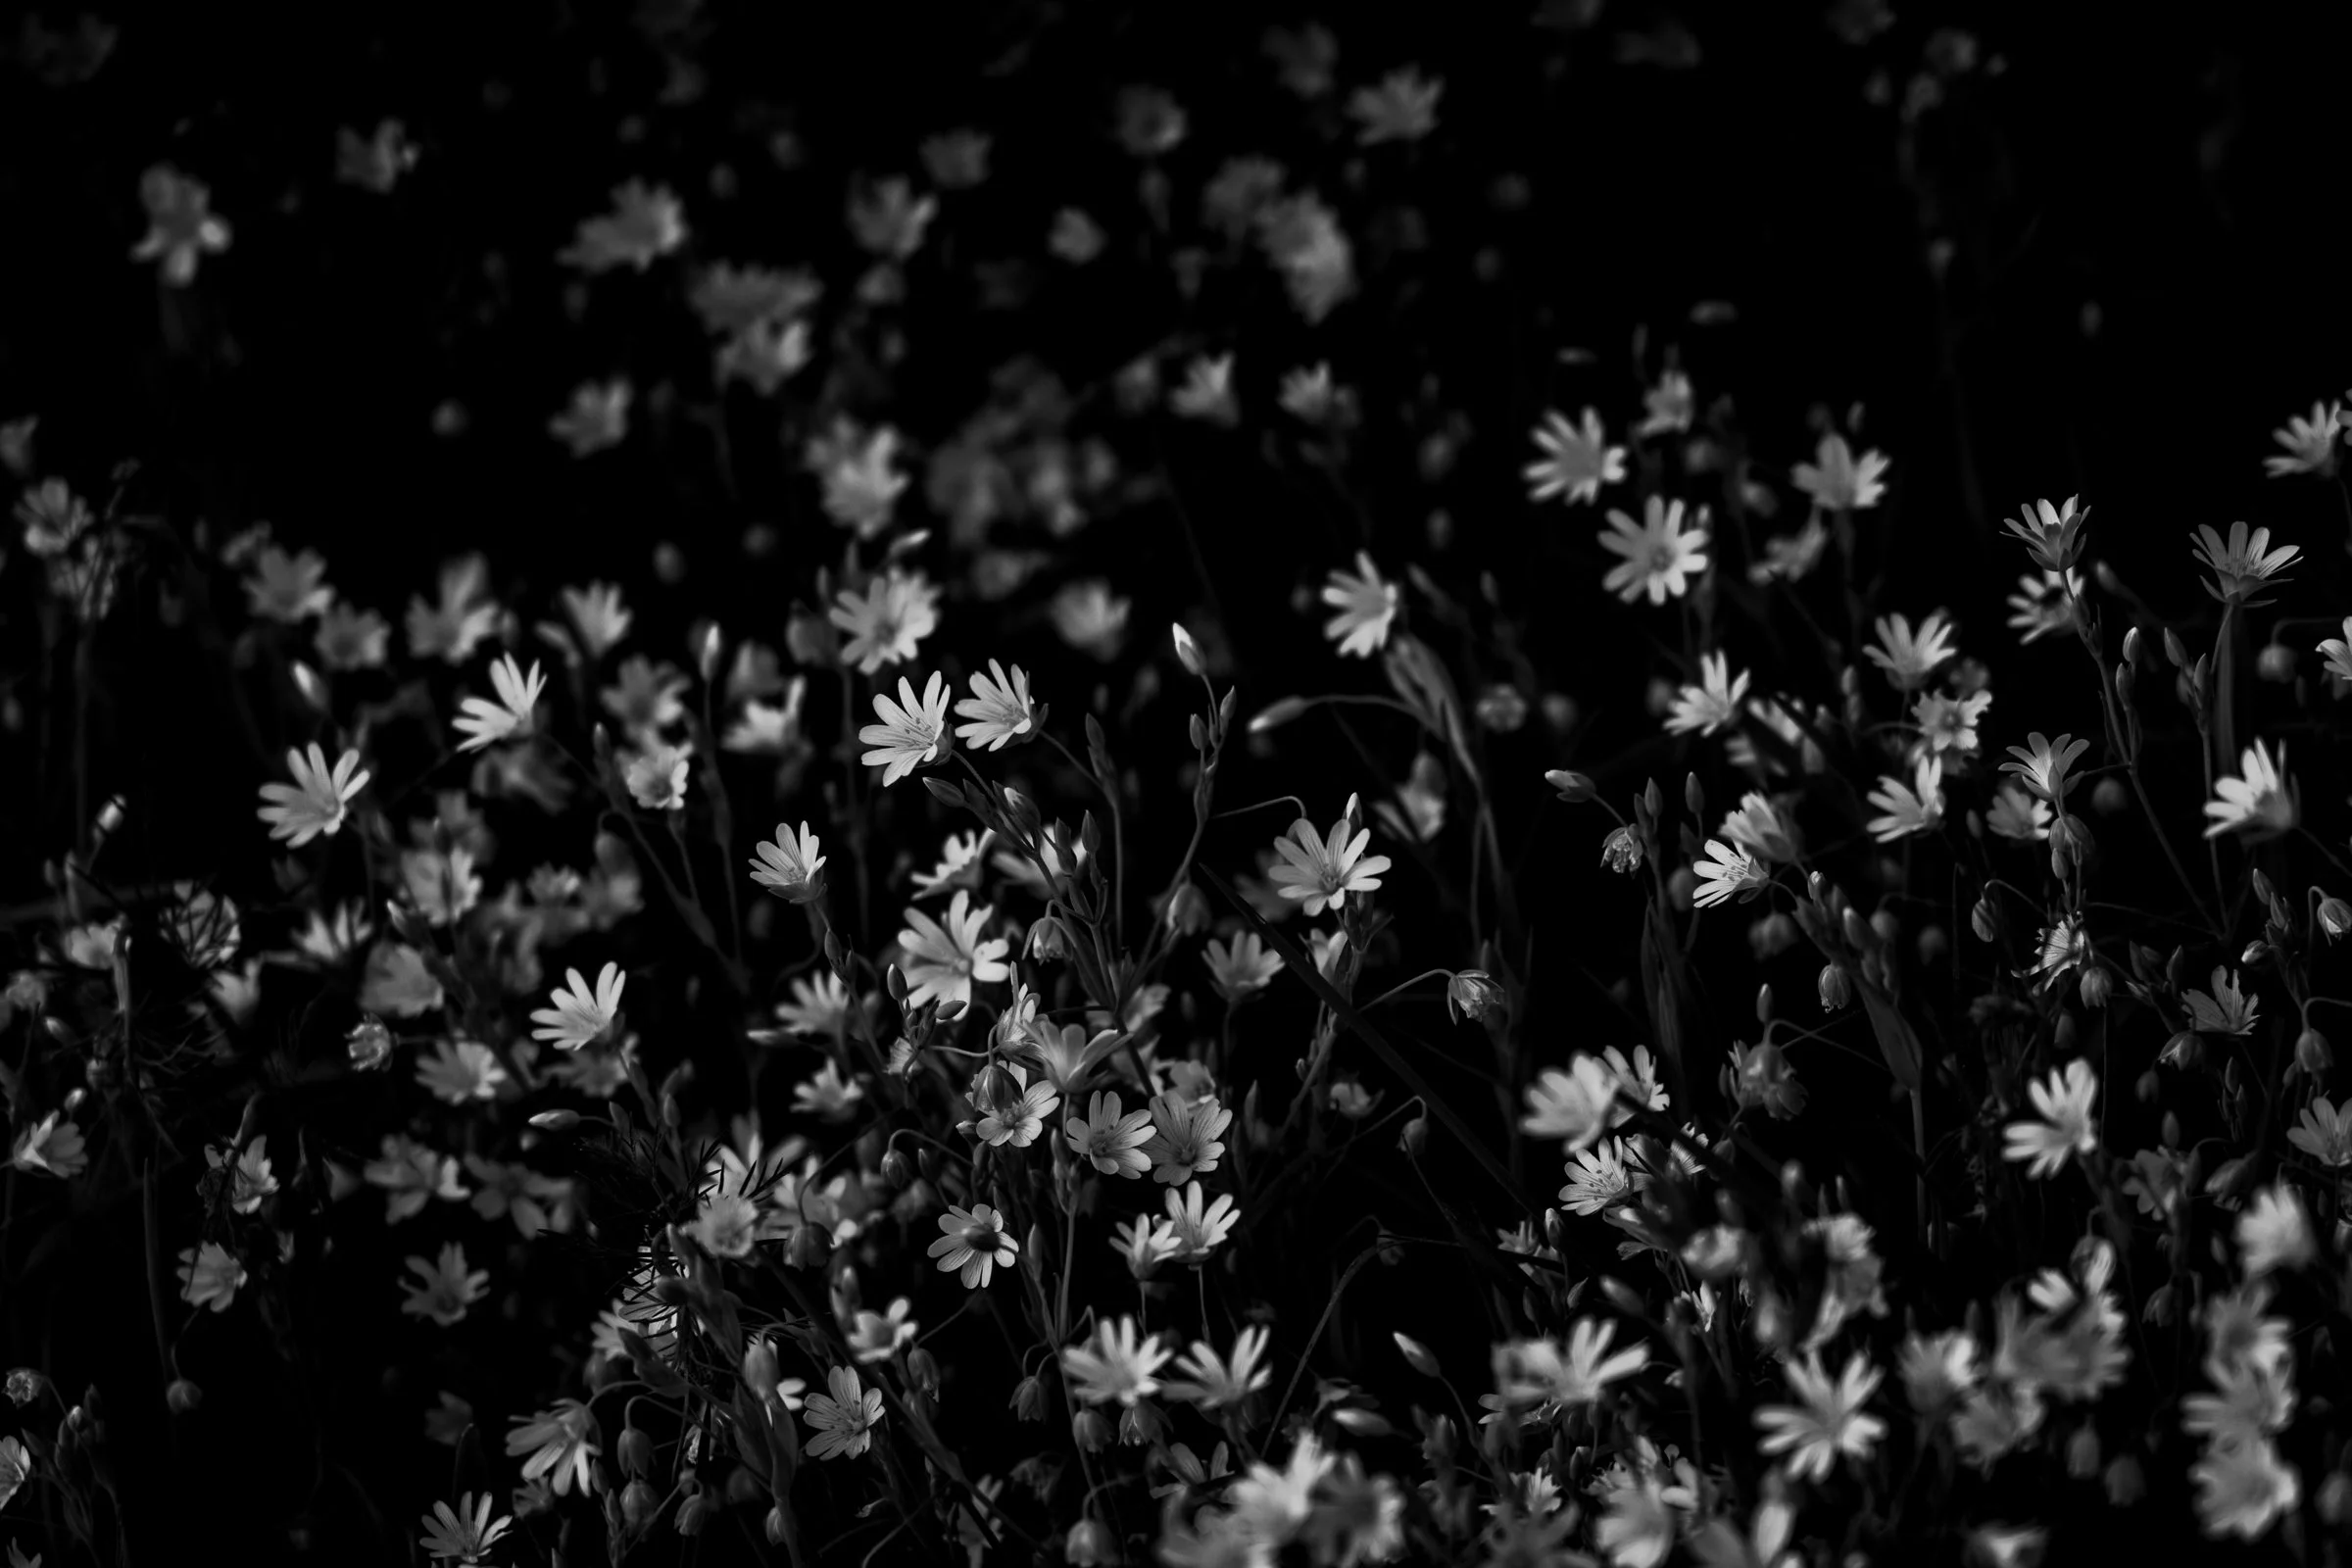
Here are some photos that I selected and converted to b&w (sometimes I also swap the black and white parts of the same photo) :


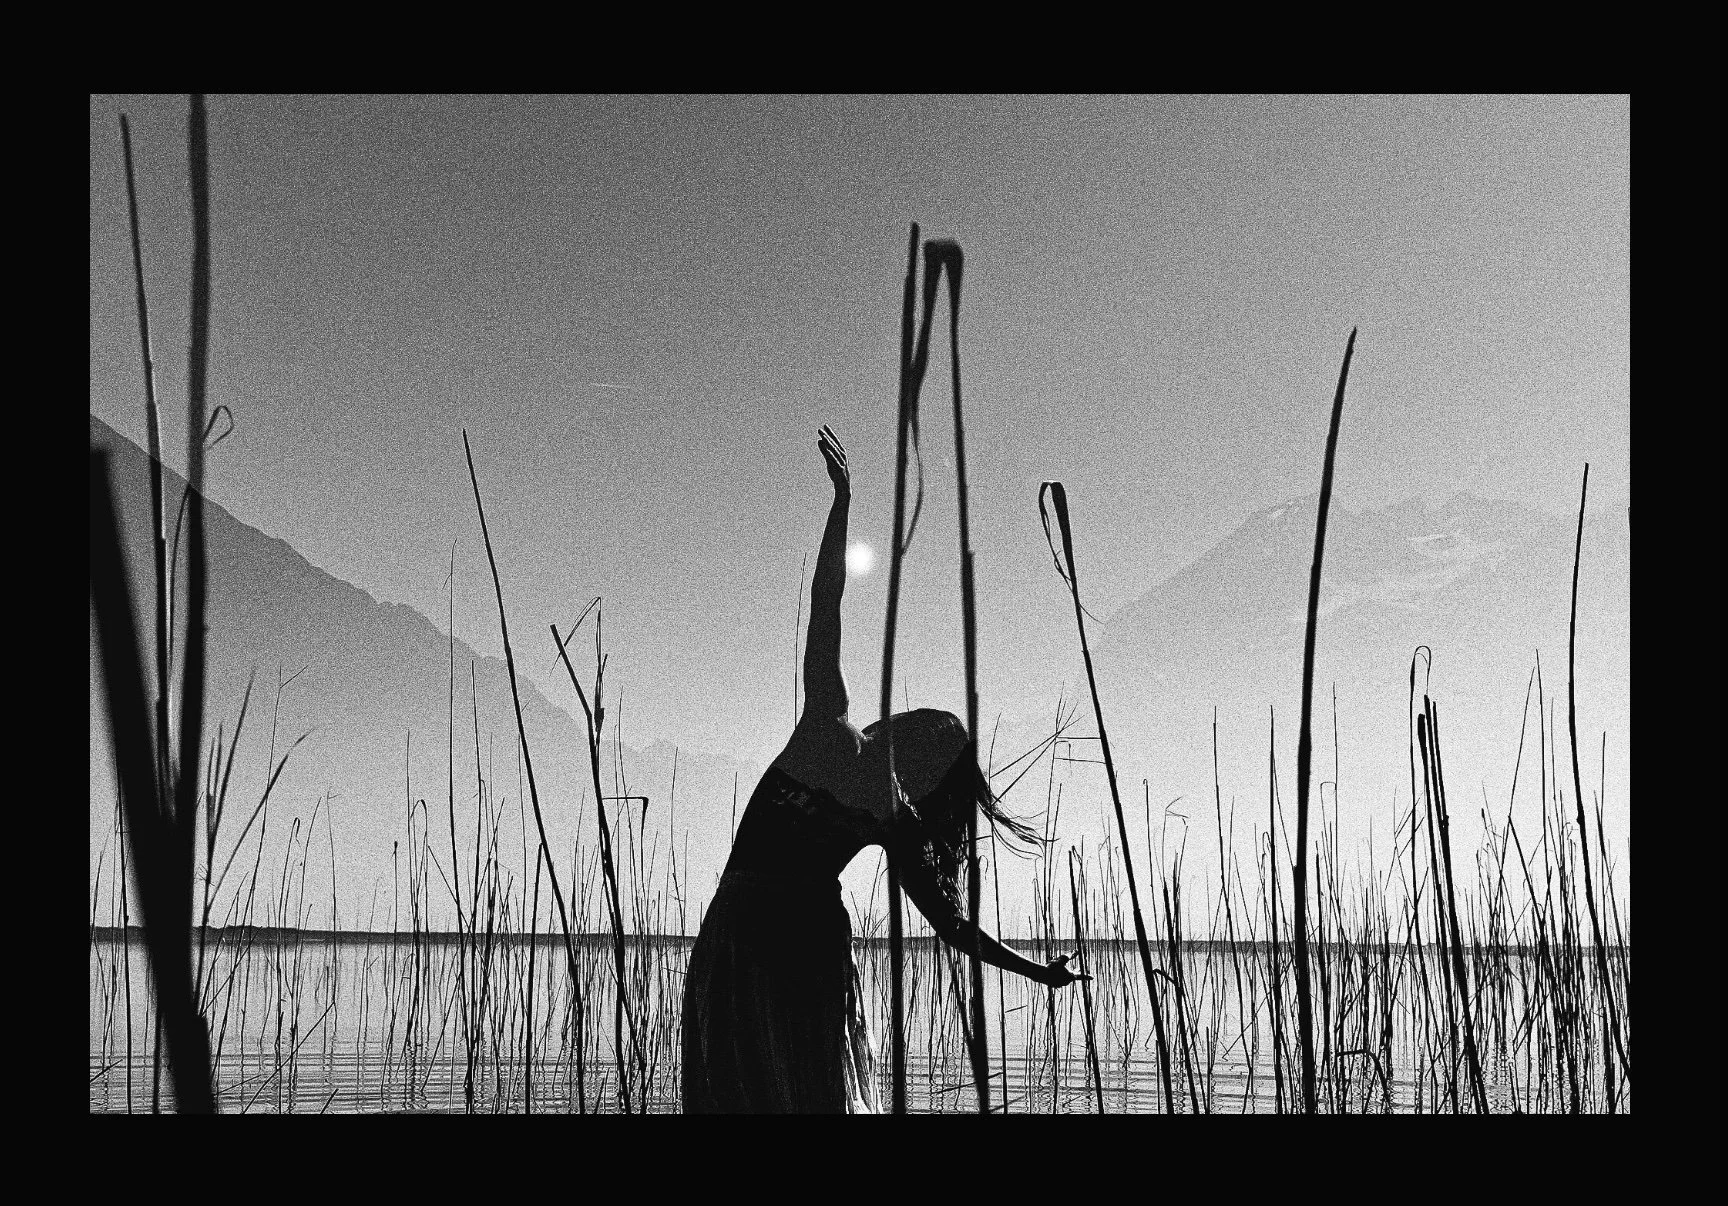
Here are the final results with the previously selected photos :


I finally chose the photo with the landscape of the Pyrenees converted to black and white. It was a perfect combination in my eyes : the mountains in the background stood out against the grey sky and the moon, in the centre, delicately touched the arm. Here is the final combination :
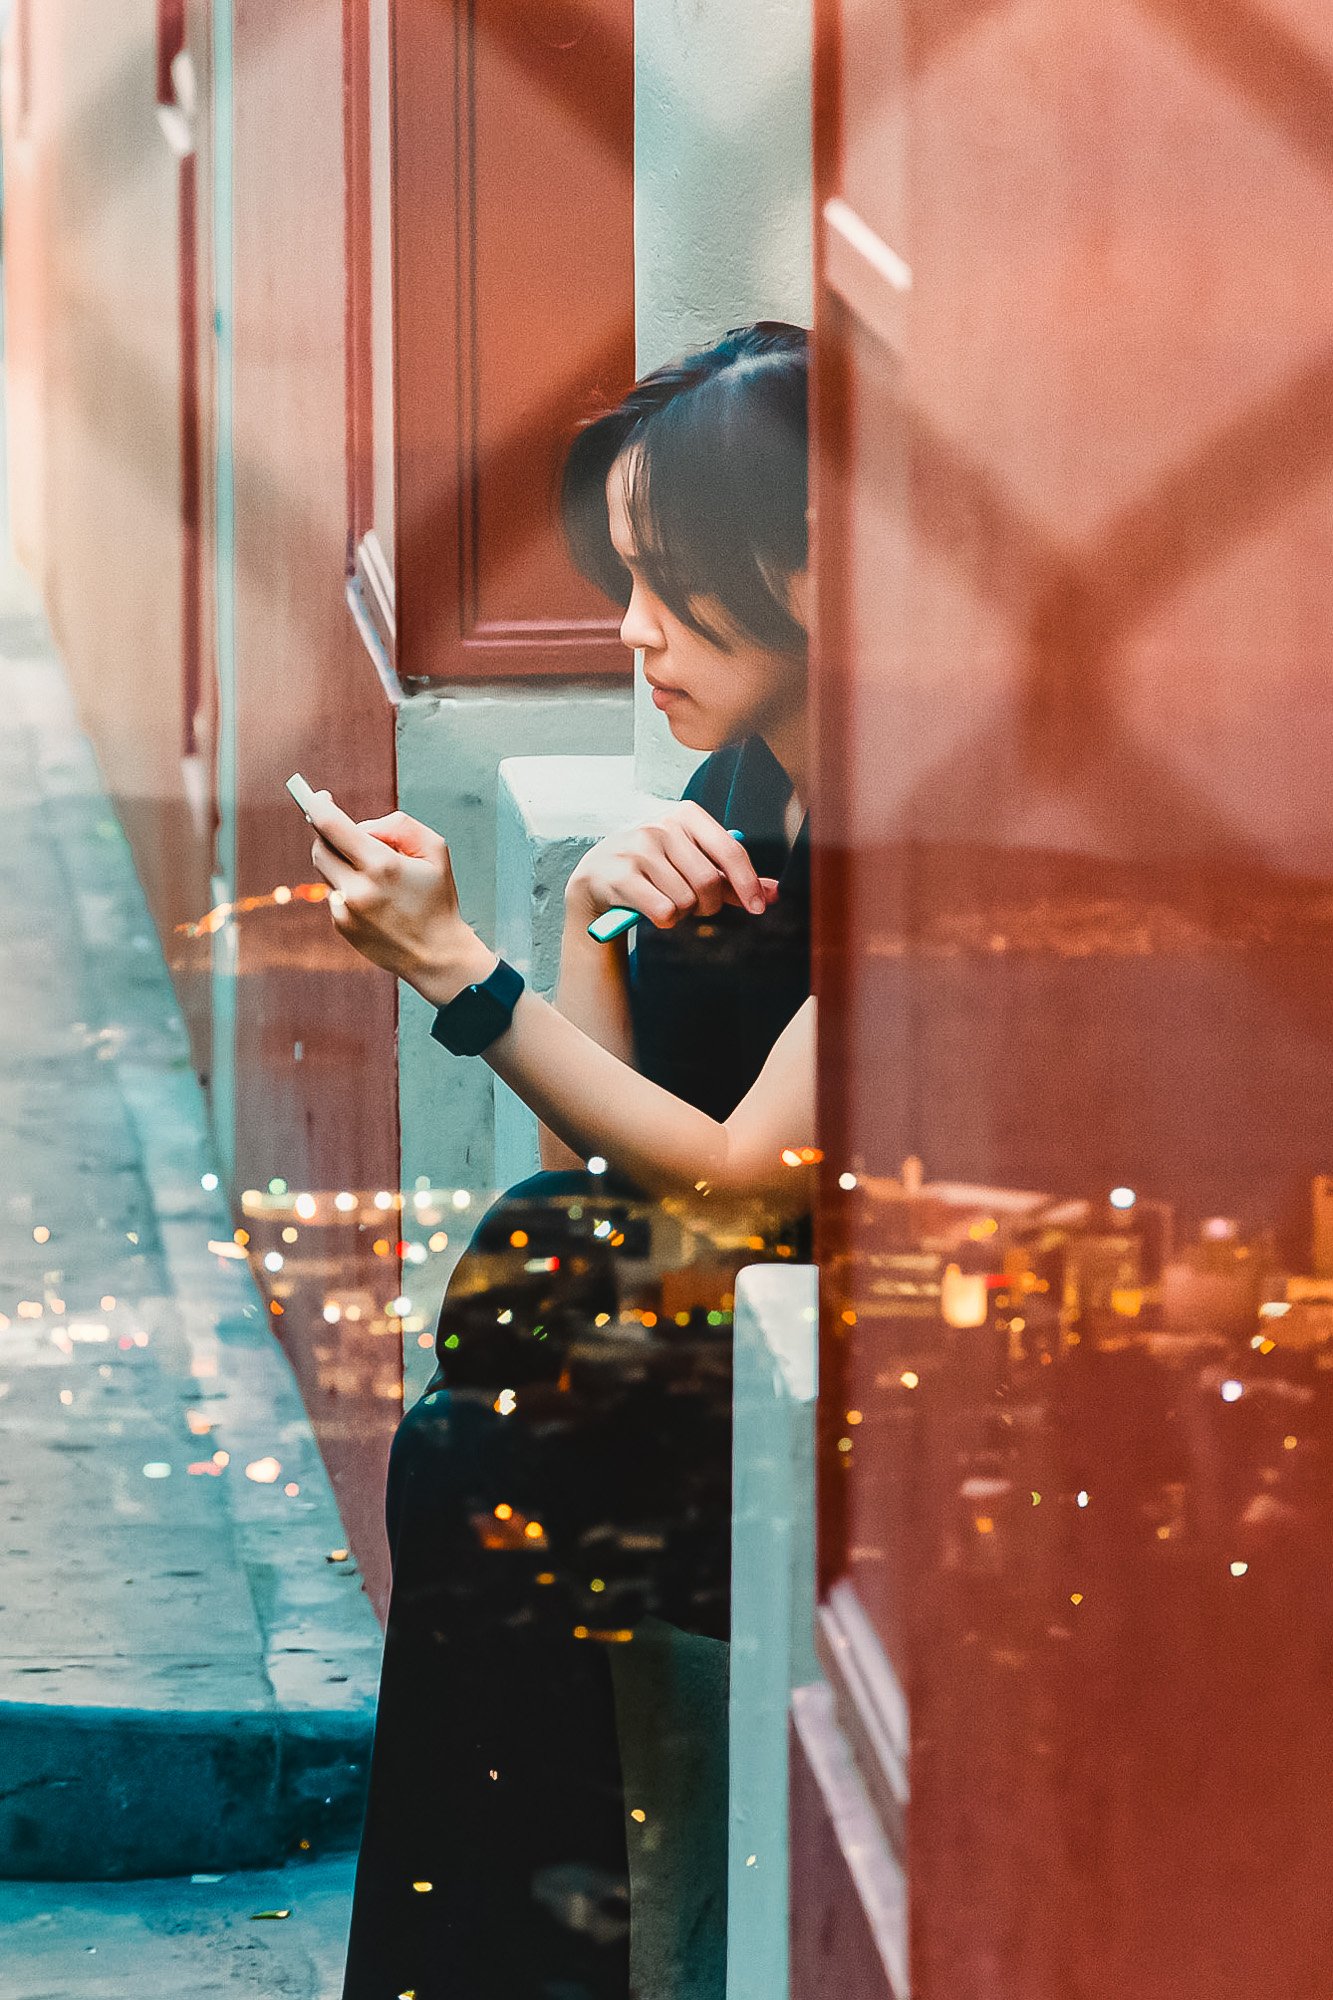
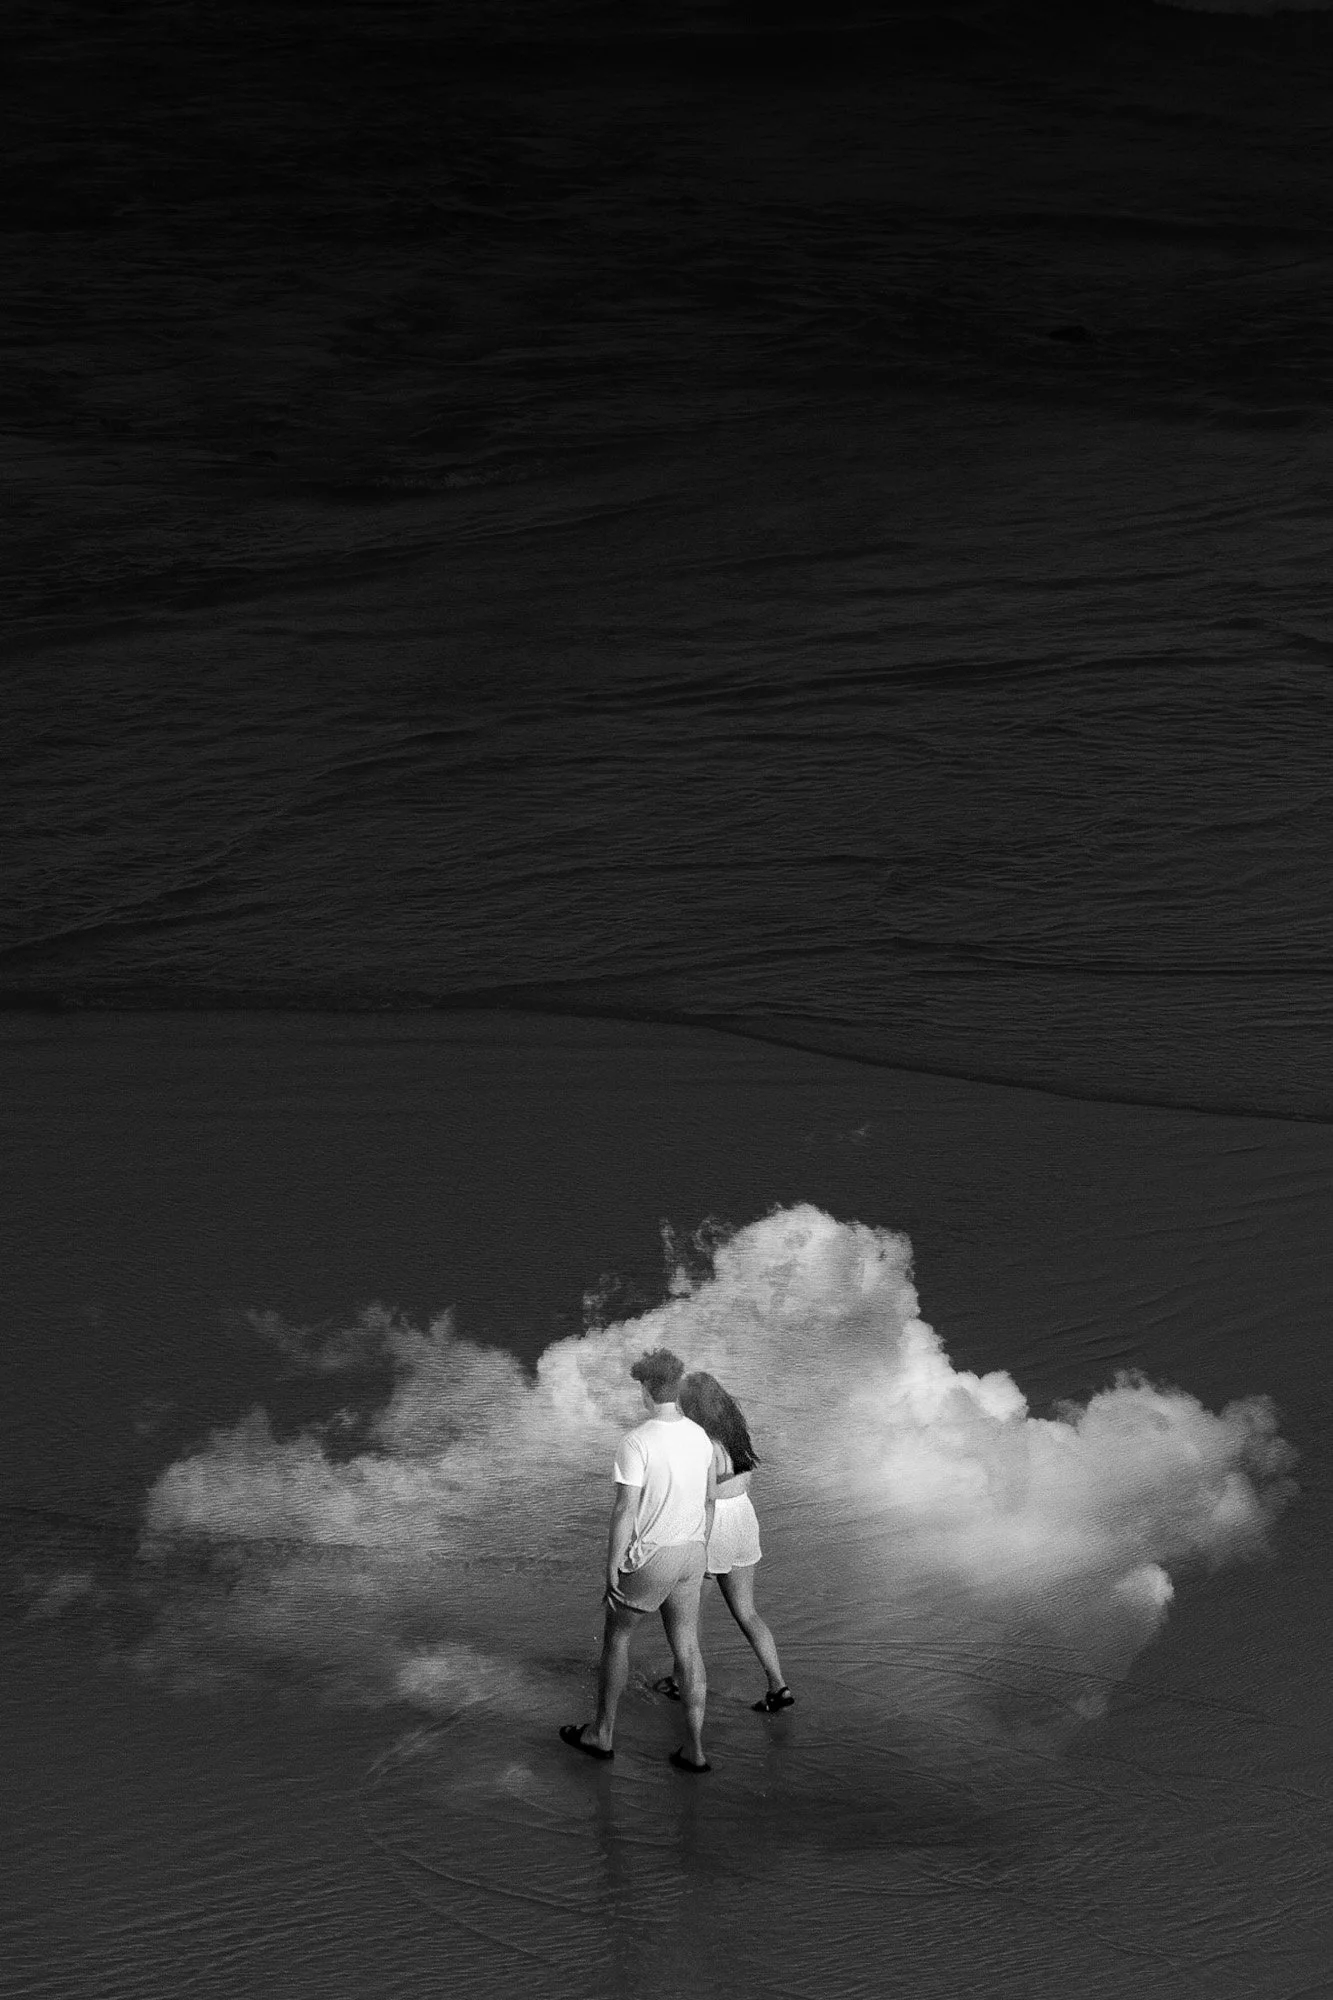
I am also sharing with you some other double exposures photos that I have made, in color and in black and white.